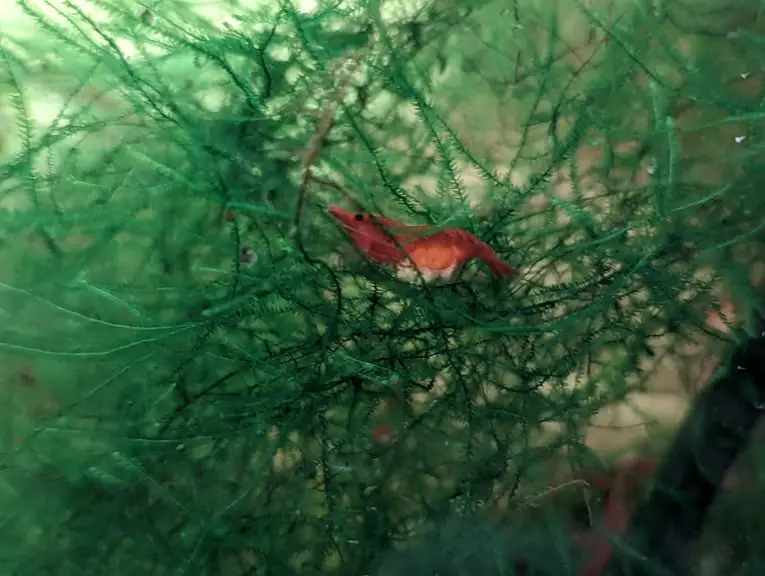
Cherry Shrimps, also known as Neocaridina Shrimps, are more fragile when compared to fish from the aquarium hobby. Therefore, you need to introduce these inverts carefully so that they will be able to safely acclimate to the water temperature and parameters of your aquarium.
To see how to introduce Cherry Shrimps to your fish tank, you can follow this step-by-step walkthrough from Aquarium Blueprints.
1. We recommend that you use the drip-feed method of acclimating your cherry shrimps as it should be the safest.
In order to do so, we suggest opening the bag that contain the shrimps and then dumping all of its content in a clean water bucket or container.
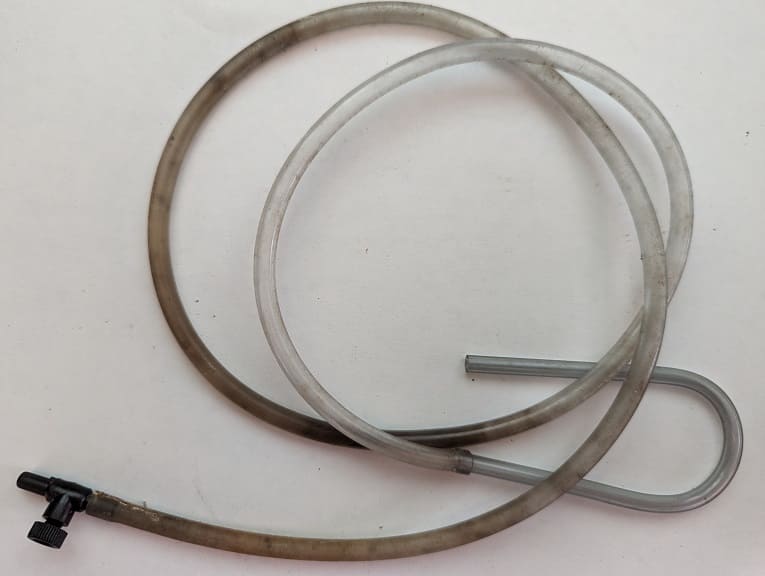
2. Next, we suggest using an airline tubing. You can place one end of the tubing in your fish tank.

With the other end, you need to use your mouth to suck the water towards the other end. Finally, place the other end of the tubing in the aforementioned water bucket or container. You can then tie the tubing, or use a control valve, to reduce its drop rate to around 1 drop per second.
If you don’t have an airline tubing, then you can have to manually add a small amount of water from your fish tank to the bucket/container every five minutes.
3. We recommend that you slowly fill the water bucket or container with for at least a couple of hours. The longer you wait, the more acclimated your shrimps will be to your tank water.
If the bucket/container gets too full, then you can try throwing a portion of it away before continuing the drip-feeding process.
4. Once you are sure that your shrimps are acclimated to the temperature and parameters of the water in your aquarium, then the next steps you can take is to ensure that your tank is properly set up.
If you are putting your new shrimps in a community tank, especially one with fish, then we recommend that you feed the current inhabitants first. By doing so, they will less likely attack for Cherry Shrimps since they already have a full belly.
5. Next, we recommend that you provide plenty of hiding places for your shrimps if you want to keep the inverts in the same tank as their potential predators.
These safe havens can be created by stock-piling rocks, adding live or fake plants as well as putting in new decorations.

6. Furthermore, you should turn off the aquarium light as your Cherries should feel less stressed in darkness.
7. Once you have everything in the tank set up, use a net to put the shrimps from the bucket or container into your aquarium.
You may have to use two hands as you need one to hold the net and the other to scare the shrimps so that they will dash backwards into the netting.
8. After adding all of the shrimps, we recommend that you leave the fish tank light off for 24 hours so that they will be able to get used to their surrounds without being overly stressed.
9. We also that you don’t feed them on the first day as they may be too apprehensive to eat. As a result, you may end up with food that rot in your fish tank.
If you don’t remove the uneaten food, then it may eventually lead to an ammonia spike.
Keep in mind that the introduction is the first of many phrases. You also need to make sure that your Cherry Shrimps are able to molt and breed without any issues if you want to maintain a healthy colony for many years in your tank.
