Shrimps are a lot harder to take care off when compared to fish due to their frailty and sensitivity. Thankfully, adding lava rocks in your shrimp tank should help improve their living conditions.
To see how you can properly add this rock type to your aquarium, you can take a look at this article from Aquarium Blueprints.
Is lava rock good for a shrimp tank?
The main advantage of having lava rocks is due to water quality.
Shrimps can’t tolerate any traces of ammonia or nitrites. High concentration of nitrates may also cause health issues to your pet inverts if they are exposed for an extended amount of time.
A lava rock has an extremely porous structure, which will provide a plenty of surface area for the bacterial colonies that will help get rid of ammonia and nitrites from your tank waters.
Deep within a lava rock are microscopic chambers that don’t have any oxygen. These are the perfect places for the nitrate-consuming bacteria species to grow in.
So, by having lava rocks in your tank, it should be easier to achieve the ideal water parameters for shrimps, which should be 0 ppm of ammonia, 0 ppm of nitrites and less than 20 ppm of nitrates.
Lava rocks can also provide hiding spaces for your pet inverts. Shrimps need to hide whenever they feel stressed or vulnerable, especially right after they molted. By stacking multiple rocks together, you can easily create small caves for them to find shelter when needed.
How to make lava rock pile for your shrimp tank?
In order to safe add lava rock in your shrimp tank, we recommend that you try taking the following steps:
1. Before we begin, we recommend getting multiple lava rocks so that you can create small caves for your shrimps to hide in.
If you are looking for an aquarium-compatible lava rock, the we suggest checking out the American Fire Glass Medium Lava Rocks, which you can find on Amazon with this link. (#CommissionsEarned)
2. Once you acquired the lava rocks, we recommend that you boil them as doing so will prevent any potentially harmful parasites from getting into your shrimp tank. This procedure will also help rinse off any dust so that your tank water won’t turn cloudy.
To boil, place the rocks in a container or bowl that can hold hot water. Next, you can put boiling water into the same bowl or container. Finally, wait for the water to cool down to room temperature before proceeding to the next step.
3. Once the water has cooled, we recommend that you rinse the lava rocks in your sink to rinse off as much dust as possible.
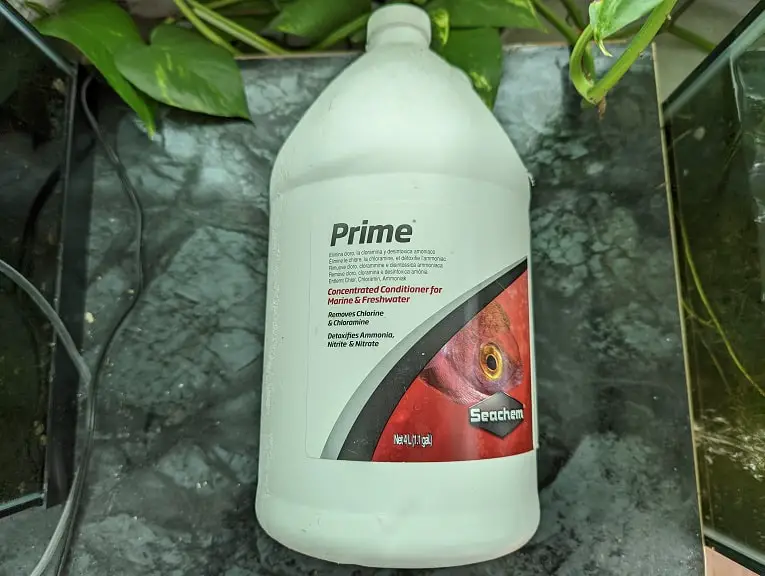
4. Next, we recommend using an aquarium water conditioner, like Seachem Prime, directly to your shrimp. This is because the lava rocks may still contain chlorine or chloramine if you were using tap water for the boiling and rising procedures.

Just to be safe, we recommend that you follow the directions on water conditioner bottle and dose based on the entire water volume of your tank.
5. Finally, you can place the lava rocks inside your aquarium.
As stated previously, we recommend that you pile up the lava rocks to create a bunch of small caves for your shrimps. You might also want to place the rock pile in the background so that it won’t block your view if you are looking at the front of the tank.
Keep in mind that the pores on lava rocks can get clogged easily, which may end up harming the beneficial bacteria colonies living inside. Therefore, we recommend that you occasionally rinse these rocks by using the tank water you are planning to discard during a water change.
